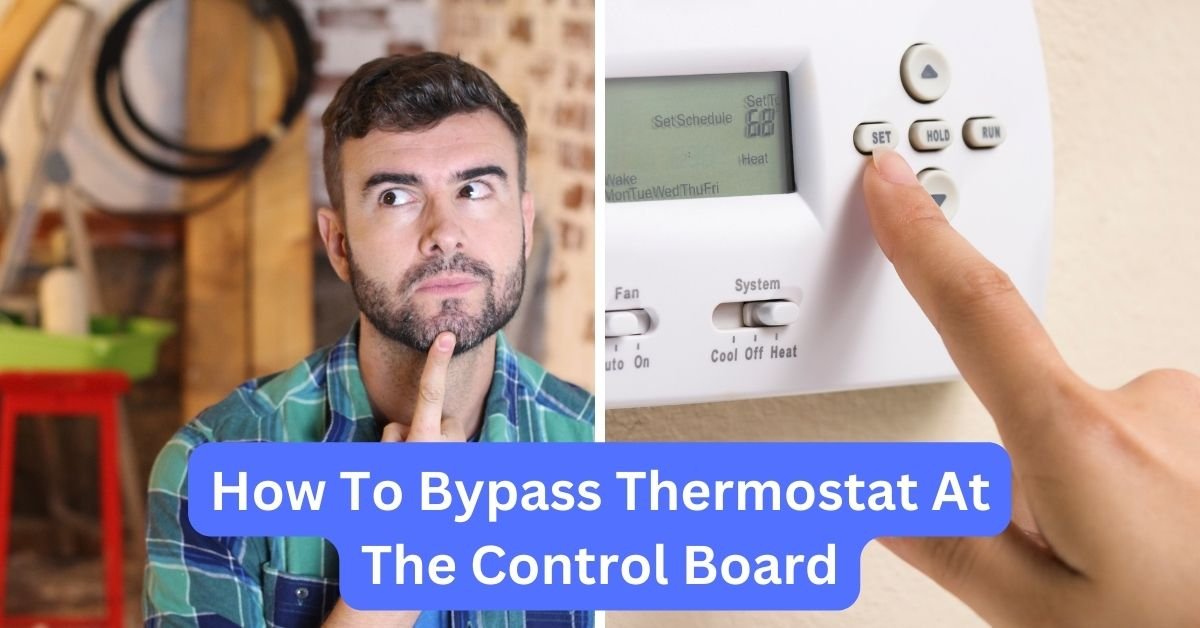
How To Bypass Thermostat At The Control Board
To bypass the thermostat at the control board, you need to locate the control board, identify the terminal marked “Y” and “C”, and then connect these two terminals with a wire or jumper. This will bypass the thermostat and allow the control board to directly control the cooling or heating system. However, it is important to note that bypassing the thermostat should only be done temporarily and as a troubleshooting measure, as it can potentially damage the system if not properly handled.
Are you tired of constantly battling with your thermostat? Do you wish you had more control over your heating and cooling systems? If you’re someone with a moderate to advanced level of knowledge in HVAC systems and electrical wiring, then this blog article is for you. We understand that troubleshooting HVAC issues can be frustrating, especially when it comes to malfunctioning thermostats or the need for temporary control board bypassing.
But fear not, because in this article, we will guide you through the process of how to bypass a thermostat at the control board. Whether you’re a DIY enthusiast, a homeowner looking to improve your HVAC system, or simply someone who wants to have better control over their heating and cooling, this article will provide you with the knowledge and techniques you need.
We’ll cover everything from the basics of thermostat bypassing to step-by-step instructions on how to do it safely and effectively. No more relying on a faulty thermostat or waiting for expensive repairs – with our help, you’ll regain control over your comfort. Throughout the article, we’ll provide real-life examples and practical tips to ensure that you have a comprehensive understanding of the topic.
We’ll explain the importance of temporary bypassing and how it can be a useful solution in certain situations. By the end of this article, you’ll have the knowledge and confidence to take control of your HVAC system, saving both time and money. So, if you’re ready to tackle those thermostat woes and gain better control over your heating and cooling, read on.
- DROK electronic thermostat controller power supply is DC 6-30V or 5V micro USB; control load current is 10A (Max); test temperature is -50~110℃; sensor length is 0.5 meter.
- High current: Our digital temperature control board adopts high density PC board installation technology, the switch capacity can be up to 10A in spite of the small size.
- LCD display: Designed with bright LCD display, people can check the temperature clearly from any angle.
- User-friendly functions: The thermostat module has the function of real-time temperature reporting, temperature correction function, high-temperature alarm, emergency stop function and support UART Set, which make the module reliable and easy to use.
- Applications: With waterproof temperature sensor probe, it can be widely used for domestic appliance, office machine, audio, equipment, automobile, etc. (Remote control TV receiver, monitor display, Audio,Raspberry Pi equipment high rushing current use application)
- RANGE: This thermostat has a temperature range: 45º – 80ºF (7ºC to 27ºC) with an easy to use large, adjusting twist dial
- COMPATIBLE: This thermostat has been made for Cadet F series electric baseboard heaters only (sold separately)
- EASY TO INSTALL: Our thermostat conveniently mounts to either end of the Cadet baseboard heater, eliminating the need for extra wiring
- DESIGN: The white color of the thermostat is designed to match your baseboard heater and easily blend in and with its unique and compact design
- USE: Made with a single pole (2-wire) low setting and when turned fully counterclockwise, this thermostat is in low position
- 100% complete machine patch, wave soldering, stable performance, good consistency.
- Embedded CPU chip (MCU), more intelligent, lower power consumption.
- Automatic power set memory (MCU built-in EEPROM memory unit).
- Control accuracy of 0.1 degrees Celsius. Have been tested for stability, consistency and reliability.
- Tips: – long press set to get menu, starts at P0 – press +/- to get next P-parameter – press set to choose that parameter – press +/- to select the value you want for that parameter – press set to accept it – long press +/- = reset to default – power-out does reset to default – default temp set is 34.5C
- Dual PID Precision Temperature Control for Better Grilling:Built with 2 PID algorithms to boost temperature stability. Supports 160°F-500°F, with Low Smoke (160°F), High Smoke (220°F), and 1-10 adjustable smoke levels—fits smoking, grilling, and prevents temp fluctuations from ruining food texture.
- Dual Control (APP + Manual) for Effortless Operation:Connects via WiFi/Bluetooth for remote temp adjustment, real-time monitoring, timed alerts, and safe shutdown. No network? Use the rotary knob. Starts in 6-8 mins; switch freely between °F/°C—easy for beginners.
- Wide Compatibility with Camp Chef Models:Designed to upgrade/replace Camp Chef Gen2 PG24-82 controller. Works with Pursuit 20, SG24, XT24, SG30/SGG30, SGX36, DLX24/36, plus older models (SmokePro DLX 24, Woodwind Classic 24). Tiered settings: Model 300 (small grills), Model 600 (large grills) for better fit.
- Intelligent Safety Features for Total Peace of Mind:Auto shutdown cooling: fan runs 20 mins to burn residual pellets and cool the grill. Built-in over-temp protection, FLAME OUT alert, RTD ERROR alarm, plus a 4.0A fast-blow fuse to avoid safety risks.
- Practical Extras to Suit Diverse Needs:FEED function for easy auger filling on first use or when pellets run out. 2 meat probes for real-time food temp. Bypass Mode (restart in 3-4 mins while hot) handles sudden power outages/accidental shutdowns without cooking interruptions.
- The W1209 thermostat module has a STM8S controller, a sensor input, keys, LED display, and a relay. It can be reprogrammed for control, timing, or counting.
- Temperature Measurement Range: -50~110℃. Control Precision: 0.1 celsius.
- Electronic digital thermostat with a 3-digit LED display, extremely bright. Operation both in heating and cooling to easily control equipment and devices.
- The NTC probe is waterproof and allows to control the temperature even of fluids, allowing the controlled heated or cooling
- The output is electronically controlled by a microprocessor, to guarantee the utmost precision of intervention and an excellent resolution of reading temperature
- Upgrade Models. Digital display is modified to Fahrenheit temperature display (old section is Celsius display). Dual LED display, Red + Blue, Precise temperature control, high sensitivity, suitable for any occasion required temperature.
- Temperature range:-58℉ to + 257℉ ; Resolution: temperature range -3.9℉ ~ 99.9 ℉ is 0.1℉, other temperature ranges 1 ℉.
- Temperature measurement accuracy: 1 ℉. Backlash accuracy: 0.1 ℉. Refresh rate: about 0.5S. Input Power: DC 12V.
- Measuring input: 1 meter NTC (10K 0.5%) waterproof metal sensors.
- Relay Load: DC 14V 20A / AC 125V 20A. ( If the module works for a long time, it is recommended not to exceed 10A.)
- ✹✹ LED Indicator Light: Display the current output status; Digital Display Tube: Shows measuring temperature, high accuracy of temperature measuring and controlling.
- ✹✹ Two Work Mode: Heating ( start temperature is less than stop temperature), Cooling ( start temperature is above than stop temperature). Range from -50℃ to 110℃. High temperature control precision of 0.1℃.
- ✹✹ ABS flame retardant housing is avirulent and environmental protective. High safety, ageing resistant, sturdy and durable.
- ✹✹ 1 meter NTC10K probe is equipped with it in convenient usage. The Probe used stainless steel material, waterproof and does not rust easily.
- ✹✹ Widely used in the hatching area, incubation, equipment case, air conditioning system, temperature control protection, cabinet cooling system and other fields. [✹✹ Notice: You can download the E-manual below the pictures. If you meet any qestions, you can contact us and we will give you a satisfied solution!!!]
- 2 Working modes: this digital LED temperature controller module has 2 working modes, heating mode (start temperature is lower than stop temperature) and cooling mode (start temperature is higher than stop temperature), range from -50°C to 110°C; The high temperature control accuracy reaches 0.1℃
- Stable and reliable: the LED indicator light can display the current output status; The digital display tube can display the measured temperature, and the temperature measurement and control accuracy is high
- Durable material: this XH-W3001 digital thermostat switch is made of ABS, one of the five major synthetic resins, which is non-toxic, strong impact resistance, heat and low temperature resistance
- Waterproof probe: equipped with a 1-meter NTC10K probe made of stainless steel, which is waterproof and not easy to rust, easy to use and can last for a long time
- Suitable for: the temperature controller module can be widely applied in the conditioning systems, incubators, equipment cases, temperature control protection and others
- Digital 5-2 Day Programmable Thermostat for electric baseboards, convectors and fan-forced heaters.
- The most accurate type of thermostat on the market (accuracy of ± 0.27 degreeF with baseboards and convectors).
- TRIAC switching allows for 100 percent silent operation and unsurpassed temperature control that helps eliminate temperature swings.
- 5-2 Day Programming allows for separate programs for the weekdays and weekends with 4 program periods per day including wake, leave, arrive and sleep.
- 2-wire non-polarized connection means fast, hassle-free installation.
- SAVE UP TO 26% ON HEATING COSTS: Create custom schedules for every day of the week, reduce temperature when you’re away, and warm up the house before you get home. Mysa’s in-app scheduling cuts electric-heat bills without sacrificing comfort.
- CONTROL FROM ANYWHERE: Connects directly to your home WiFi — no hub required. Use the free Mysa app (iOS & Android) to change temperature, set schedules, and monitor every room from your couch, your office, or while on vacation.
- WORKS WITH VOICE ASSISTANTS: Pair with Apple HomeKit, Amazon Alexa, or Google Home for hands-free temperature control. Say ‘set the living room to 20°C’ and Mysa handles the rest.
- 120V & 240V COMPATIBLE: Works with 120V, 208V, and 240V electric baseboard heaters, fan-forced heaters, wall heaters, and convector units. Supports single-pole and double-pole configurations.
- 15-MINUTE DIY INSTALLATION: Step-by-step guide in the Mysa app walks you through every wire. No electrician needed for most homes. Requires 4 wires (neutral or second live wire) — check your existing wiring before ordering.
The Basics of Thermostat Bypassing
Before we dive into the step-by-step instructions on how to bypass a thermostat at the control board, let’s start by understanding the basics of thermostat bypassing. This will give you a solid foundation and help you grasp the importance of this technique.
Why Bypassing the Thermostat is Necessary
Thermostat bypassing can be a useful solution in various situations. Let’s explore why you might need to bypass the thermostat and gain a better understanding of its importance.

Situations that Call for Thermostat Bypassing
There are several specific situations where bypassing the thermostat becomes necessary. Understanding these situations will help you determine if bypassing is the right solution for your HVAC system. Let’s take a look at some common scenarios:
Tools and Materials You’ll Need
Before you get started with bypassing the thermostat at the control board, it’s essential to gather all the necessary tools and materials. Having everything prepared in advance will make the process smoother. Here’s a list of what you’ll need:
Step-by-Step Guide to Bypassing the Thermostat at the Control Board
Now that you’re familiar with the basics and understanding when bypassing the thermostat is necessary, let’s dive into the step-by-step process of actually bypassing the thermostat at the control board.
Step 1: Shut Off the Power
Before beginning any electrical work, it’s crucial to shut off the power to your HVAC system. This ensures your safety and prevents any damage to the components. Follow these steps to turn off the power:
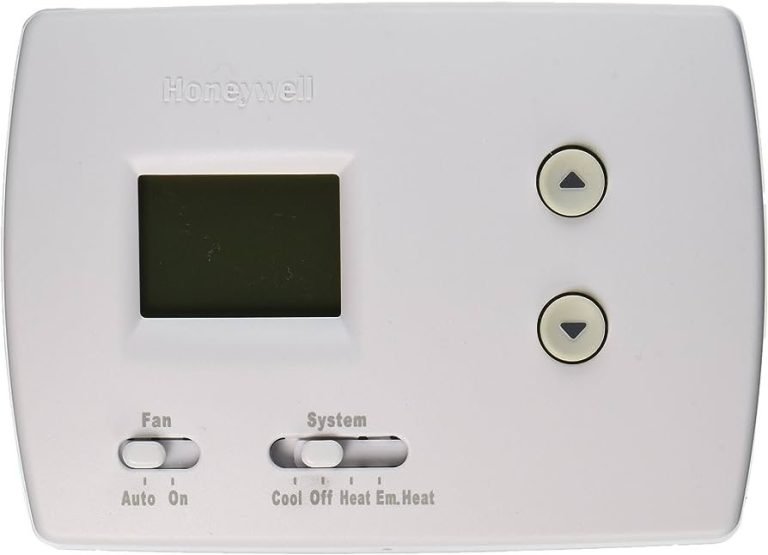
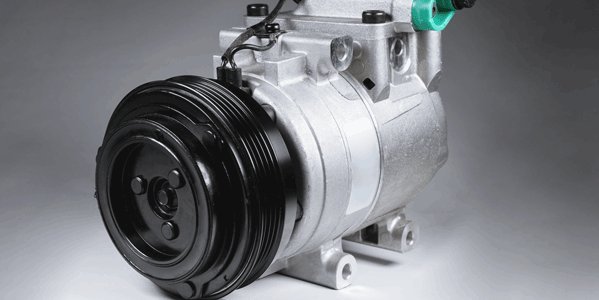
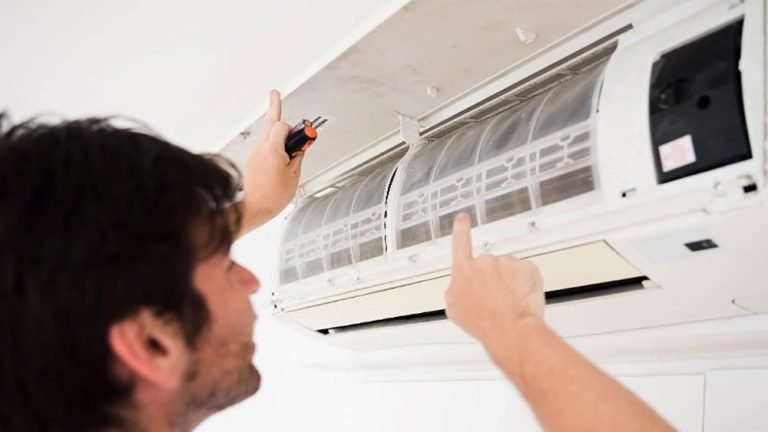
Step 2: Locate the Control Board
The control board is the central hub of your HVAC system, where all the electrical connections are made. To bypass the thermostat, you’ll need to locate the control board. Here’s how:
Step 3: Identify the Thermostat Wires
Now that you’ve found the control board, it’s time to identify the thermostat wires. These wires connect the thermostat to the control board and carry signals that control the heating and cooling functions. Here’s how to identify the wires:
Step 4: Disconnect the Thermostat Wires
Once you’ve identified the thermostat wires, it’s time to disconnect them from the control board. This will effectively bypass the thermostat and allow you to take control of your HVAC system. Follow these steps to disconnect the wires:
Step 5: Secure the Exposed Wires
With the thermostat wires disconnected, you’ll notice exposed ends that were previously connected to the control board. It’s important to secure these wires to prevent any electrical hazards. Here’s how:
Step 6: Restore Power and Test
Now that you’ve bypassed the thermostat at the control board and secured the exposed wires, it’s time to restore power to your HVAC system and test if the bypass is successful. Follow these steps:
Safety Precautions and Tips
While bypassing the thermostat at the control board is a relatively straightforward process, it’s important to prioritize safety. Here are some safety precautions and tips to keep in mind:
Common Issues and Troubleshooting
Even with proper bypassing, you may encounter some common issues with your HVAC system. Here are a few troubleshooting tips to help you address these problems:
Bypassing the thermostat at the control board can give you greater control over your HVAC system, allowing you to troubleshoot and make temporary changes without relying on a faulty thermostat. However, it’s essential to remember that bypassing should only be done if you have a good understanding of HVAC systems and electrical wiring. If you’re unsure or uncomfortable with the process, it’s best to seek professional help to avoid any damage or safety hazards.
Troubleshooting if a Thermostat is BAD: Explained!
Frequently Asked Questions (FAQ)
How can I bypass the thermostat at the control board?
Can I bypass the thermostat without affecting the system?
What are the risks of bypassing the thermostat at the control board?
Are there any alternative methods to bypassing the thermostat at the control board?
Is it recommended to bypass the thermostat at the control board?
Conclusion: The Process and Importance of Bypassing the Thermostat for HVAC Systems
In conclusion, bypassing the thermostat at the control board can be a useful technique for troubleshooting and making temporary changes to your HVAC system. Understanding the basics of thermostat bypassing and the situations that call for it is crucial in determining if it is the right solution for your system.
By following the step-by-step guide and taking necessary safety precautions, you can successfully bypass the thermostat and gain control over your HVAC system. Before starting the bypassing process, make sure to gather all the necessary tools and materials.
Begin by shutting off the power to your HVAC system to ensure safety. Locate the control board, identify the thermostat wires, and disconnect them from the control board. Remember to secure the exposed wires to prevent any electrical hazards.
Once the bypassing is complete, restore power to your system and test if the bypass was successful. While bypassing the thermostat can provide temporary solutions, it is important to prioritize safety and have a good understanding of HVAC systems and electrical wiring. It is advised to seek professional help if you are unsure or uncomfortable with the process to avoid any damage or safety hazards.
